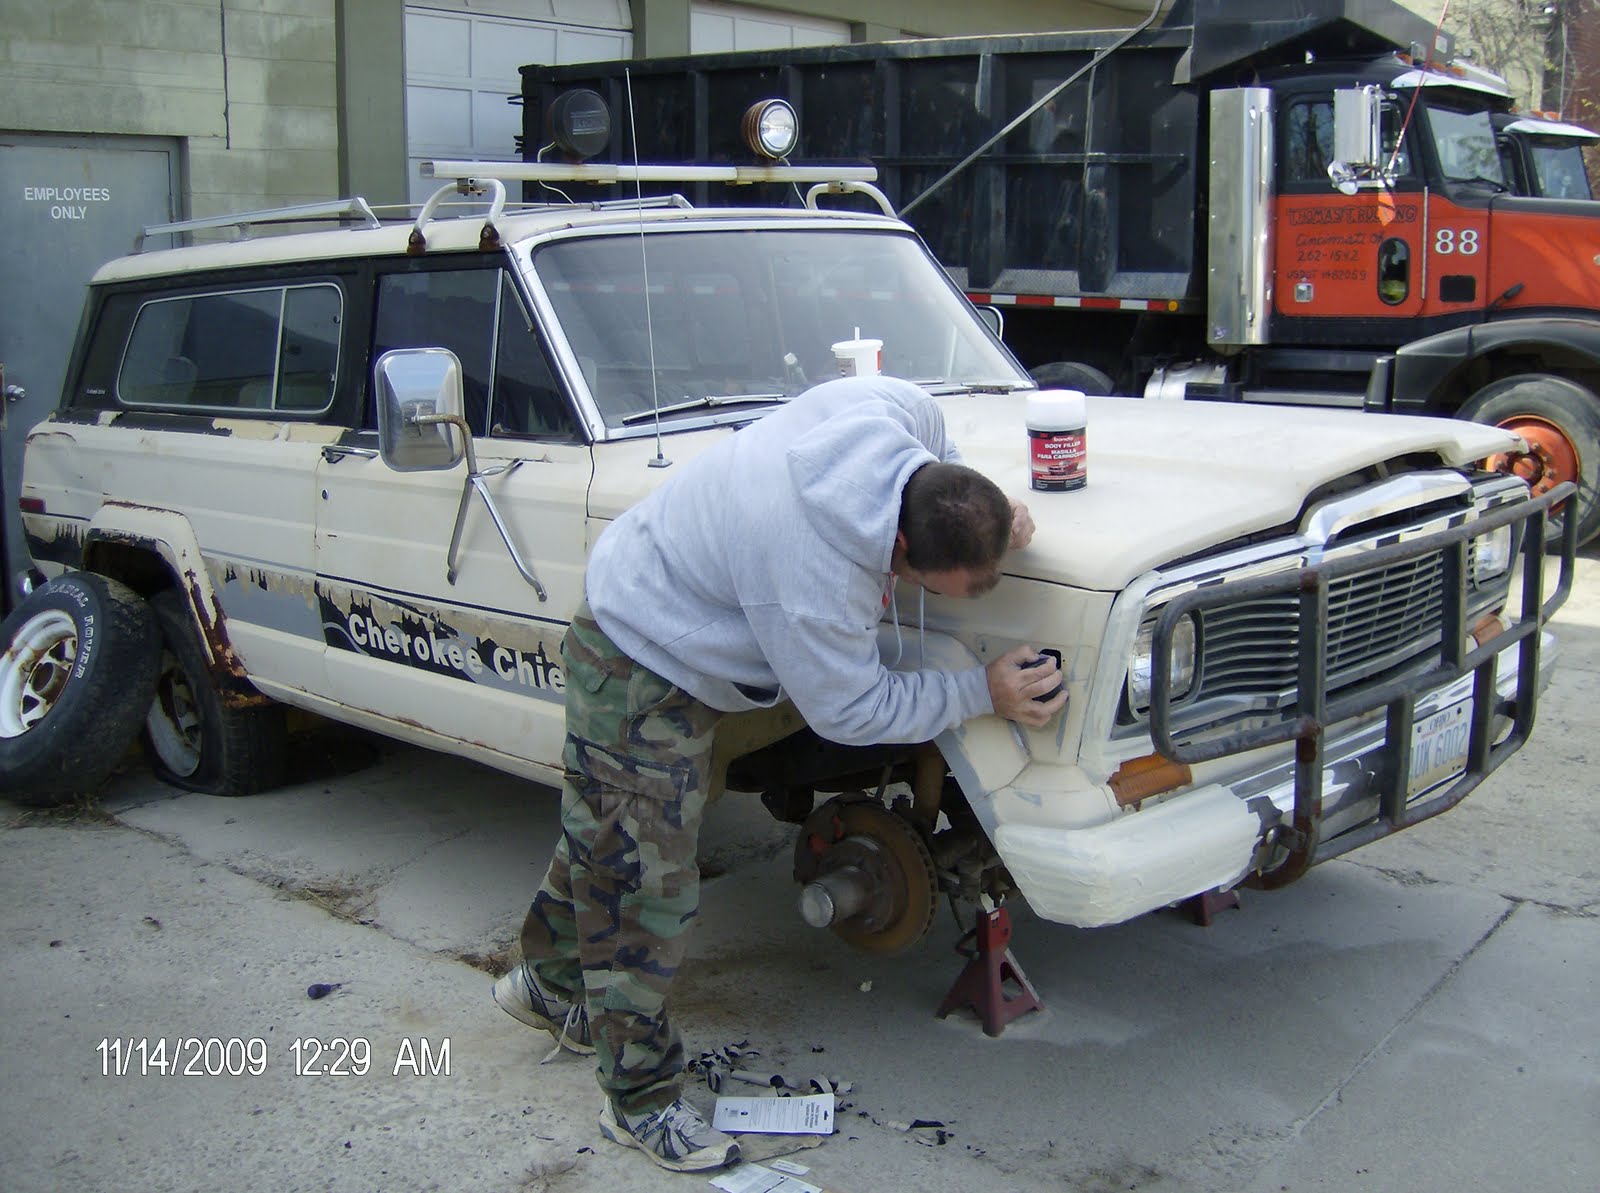
Well today was a short day as Thanksgiving is tomorrow. I had a mission though I wanted to finish the fender well. I did just that today. I still have to blast the fender flares on the inside but mostly everything else is blasted and ready for reapir and then primer. Her are the 2 pics of today's short progress.